Plant-based vegan recipes to nourish the mind, body, and soul! I believe wholesome, high-vibrational foods lay the foundation for an energized, fulfilling life. Whether you're vegan, vegetarian, or omnivore, I hope you find Blissful Basil to be a welcoming and inspiring place!
Recent Blog Posts


See all the latest posts →
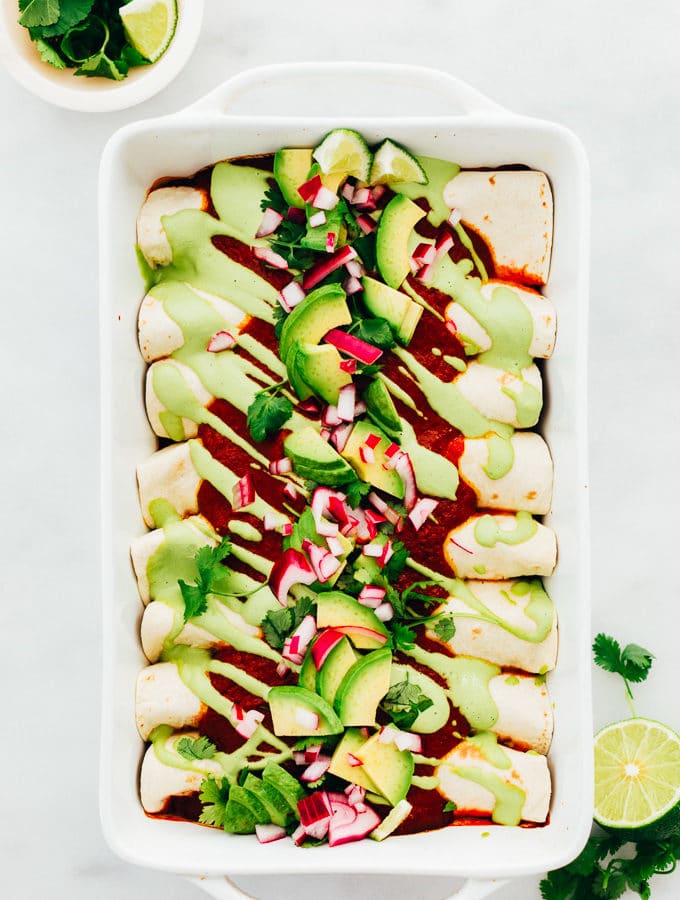
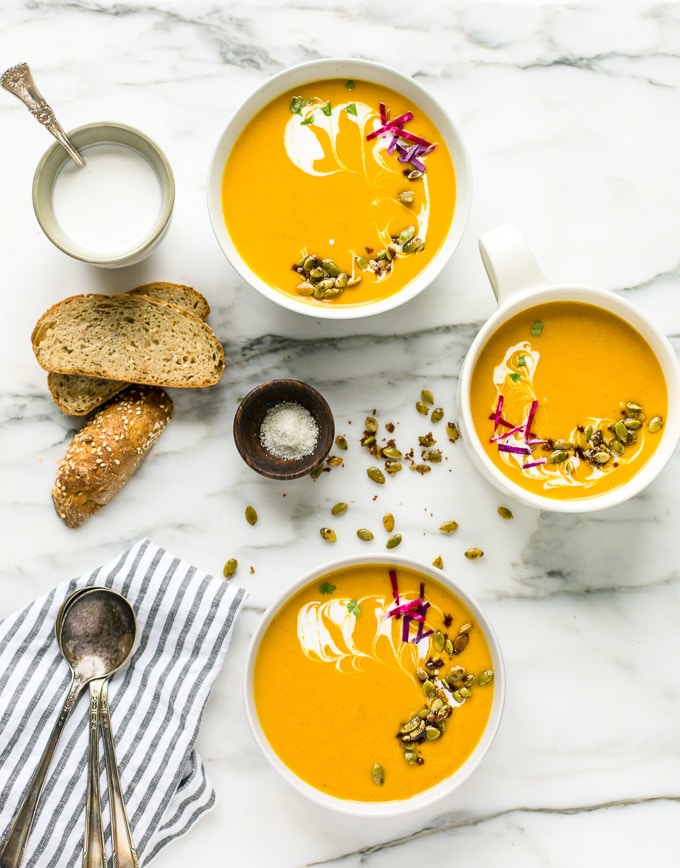
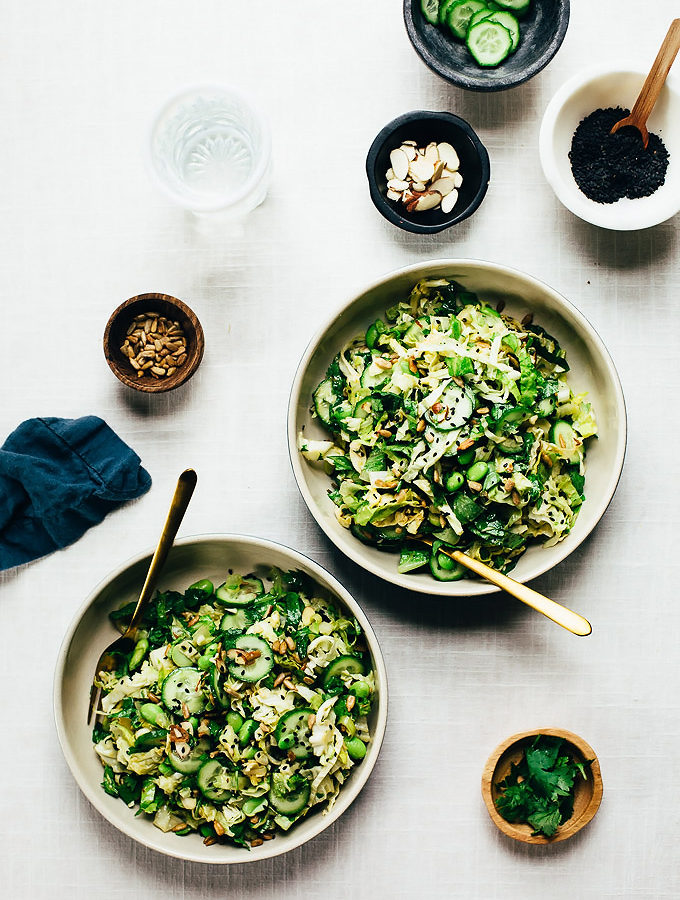
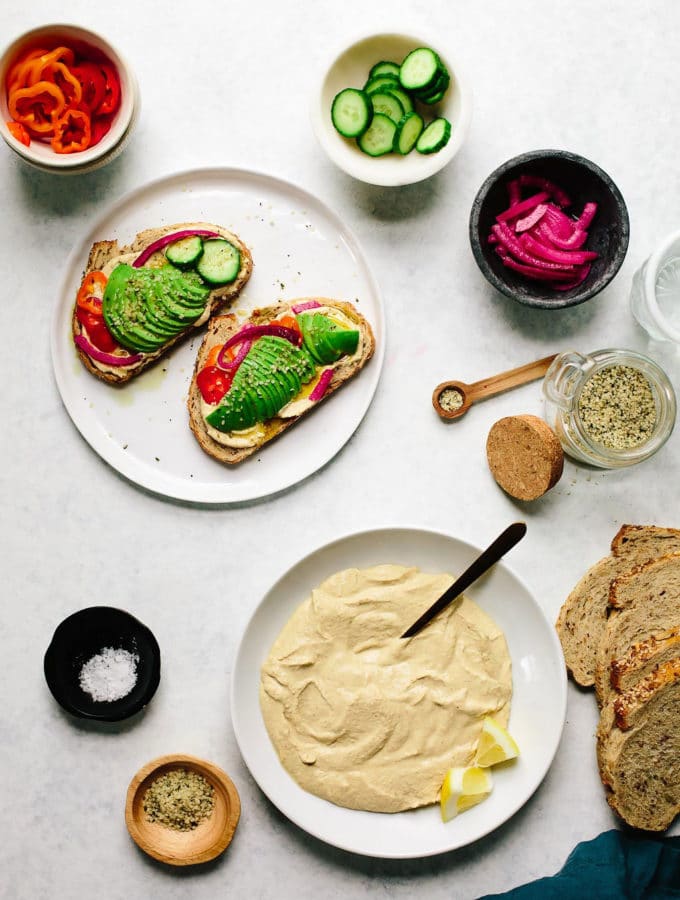
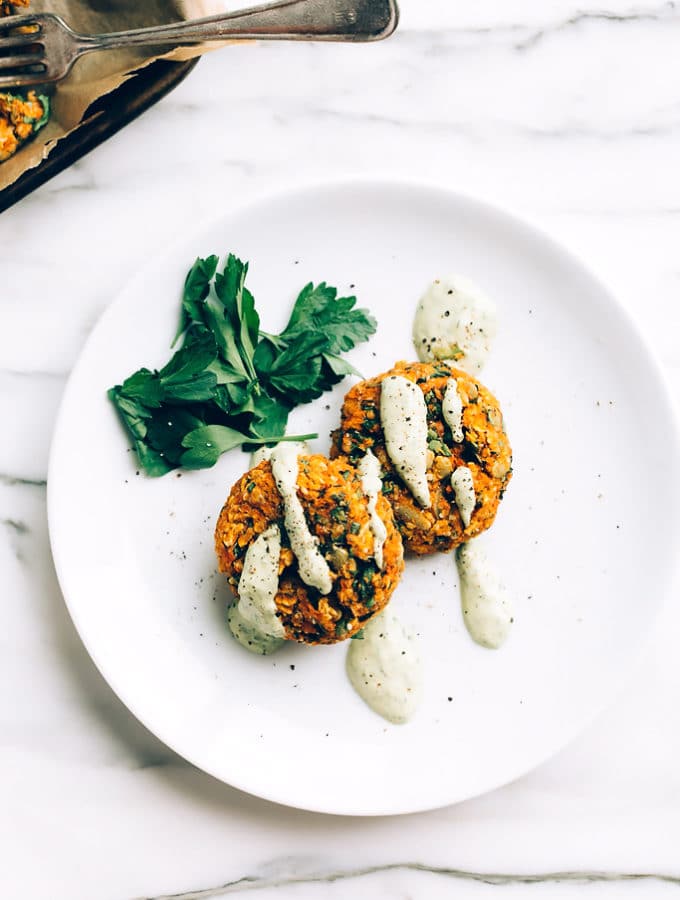
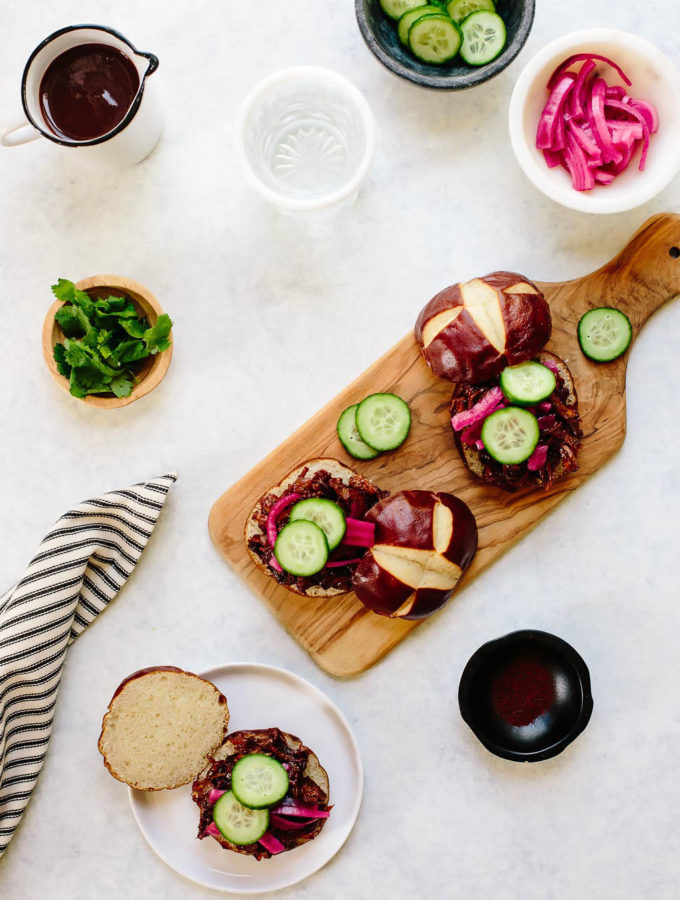
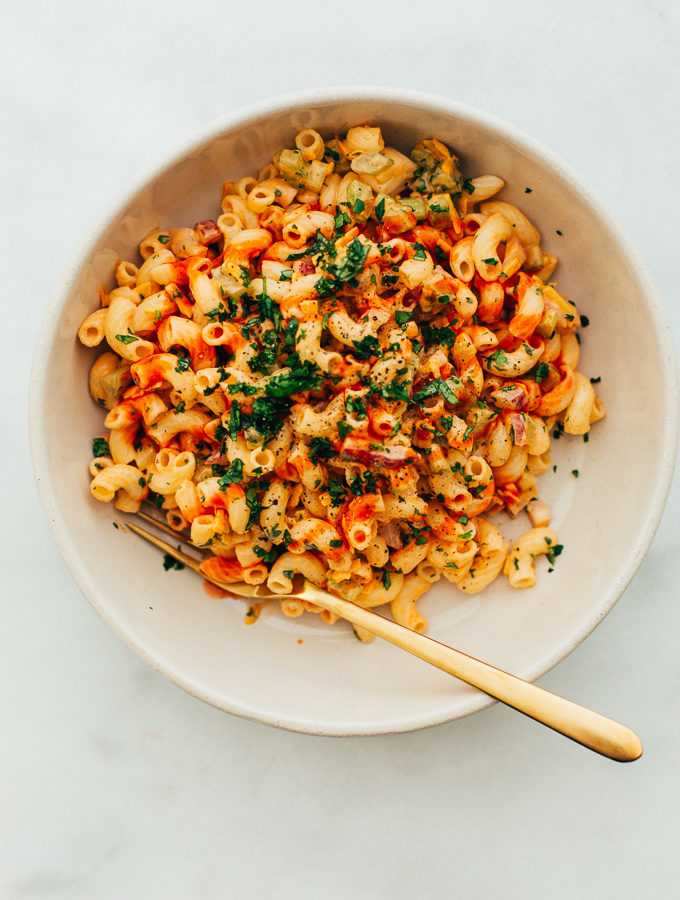
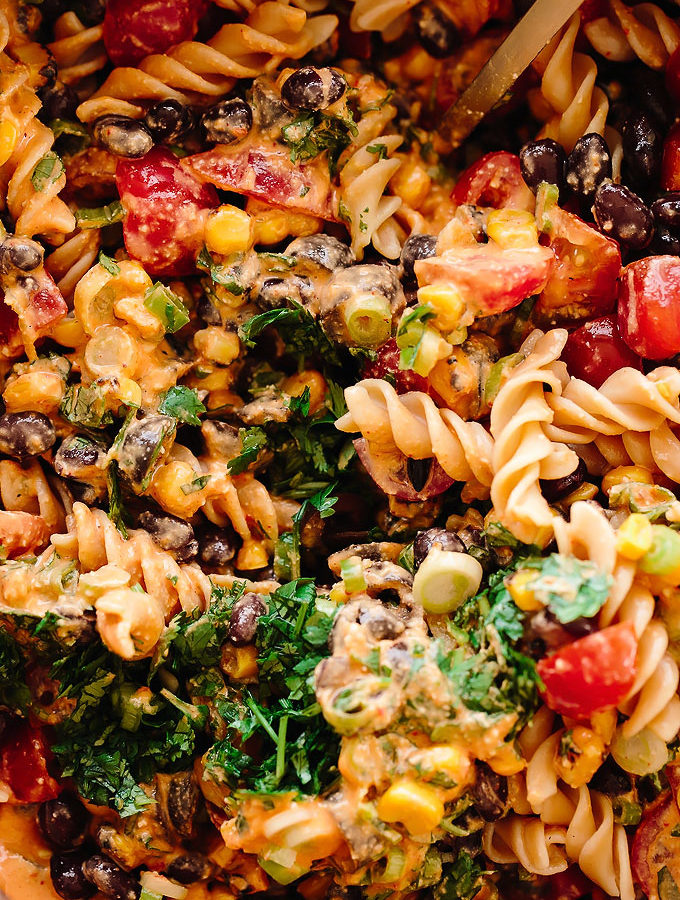
Trending Recipes
Our all-time most loved vegan recipes are bound to become a favorite...

See more vegan recipes →

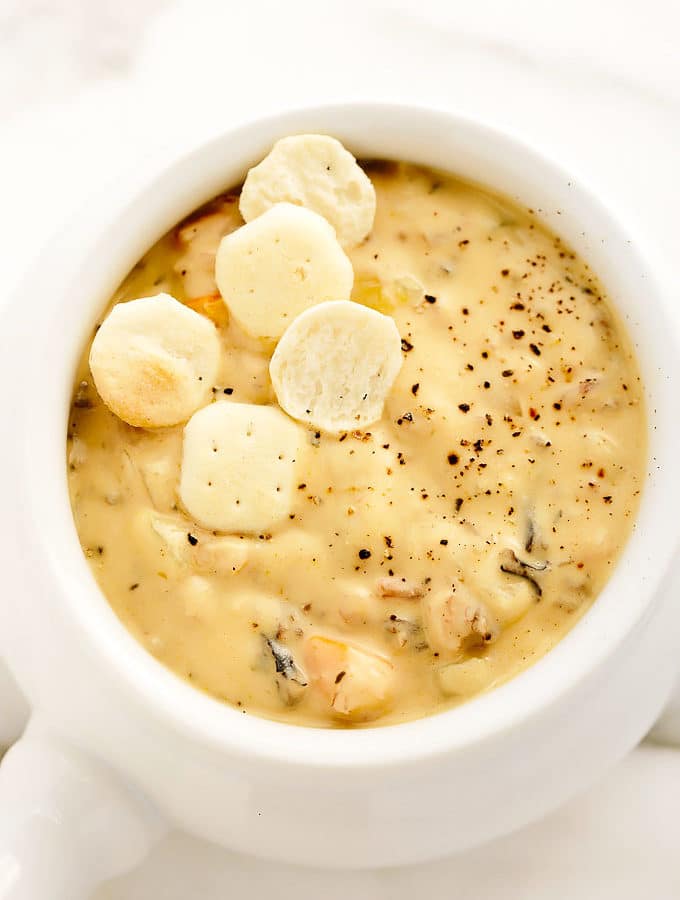
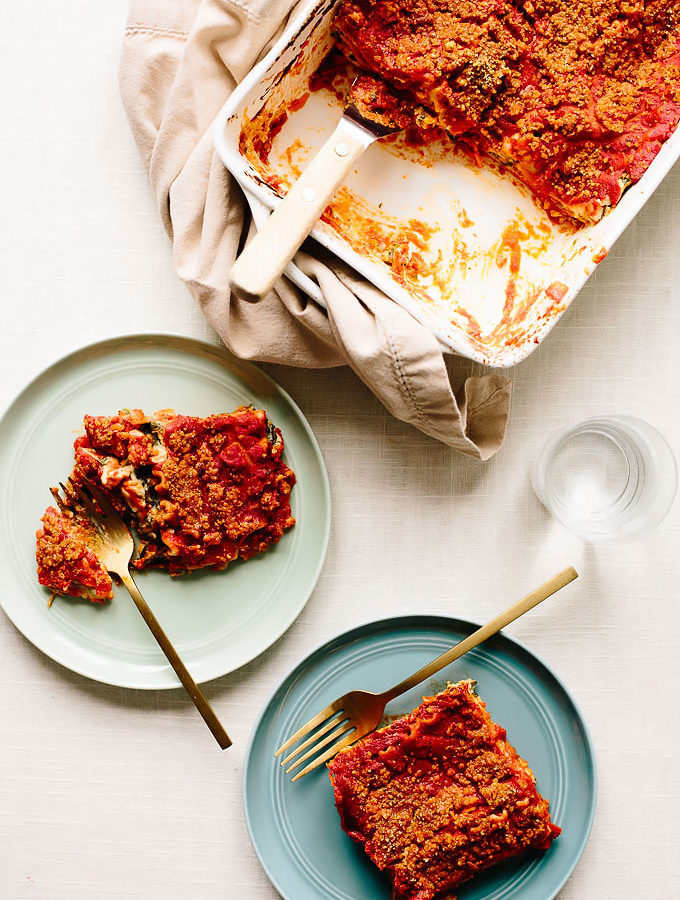
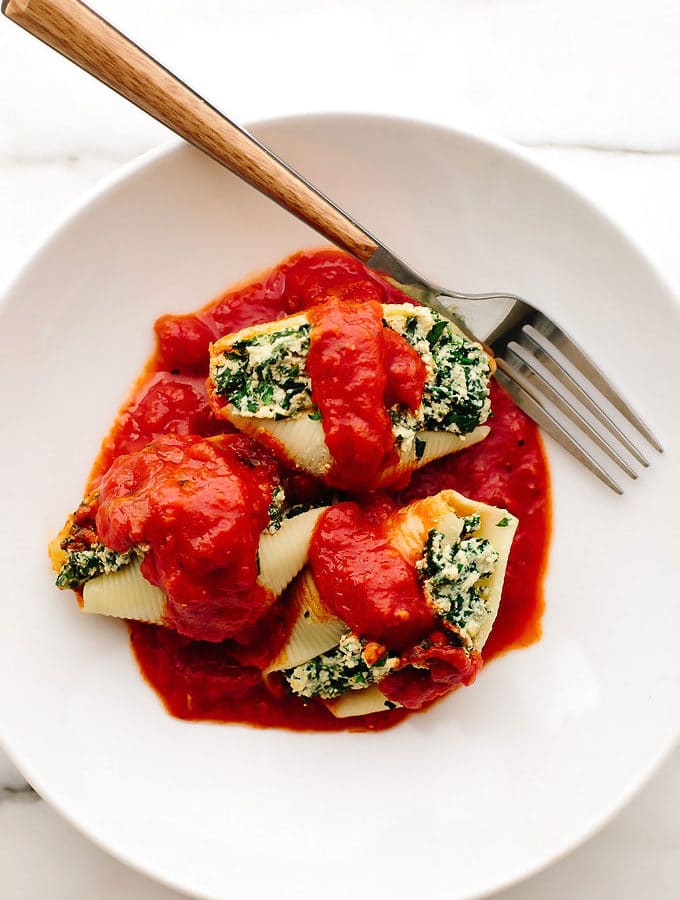
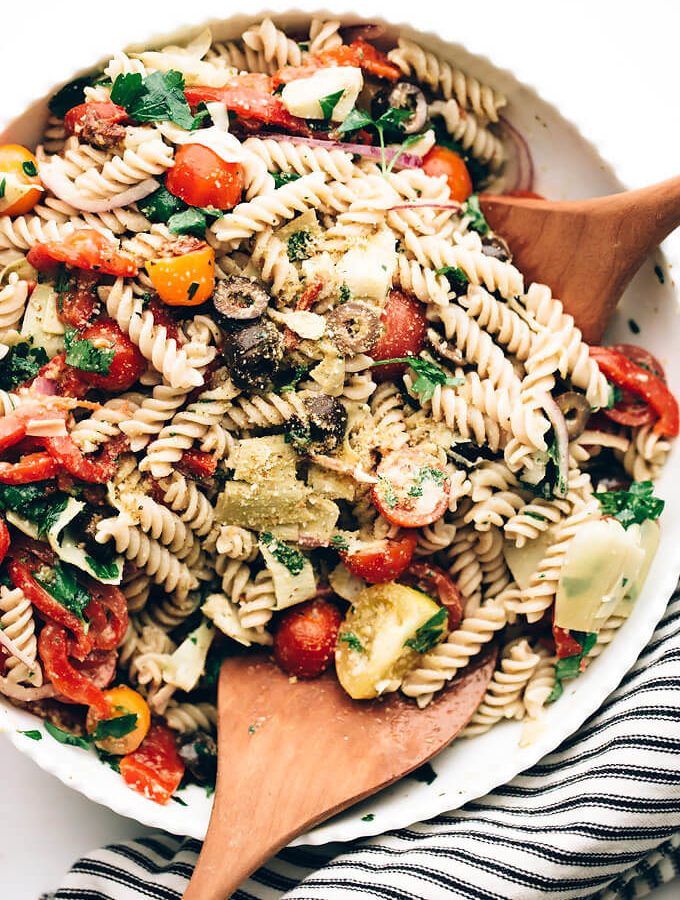
Quick + Easy Vegan Entrees
Looking for quick, easy, and nourishing weeknight meals? We've got you covered!


See more vegan main courses →

About Ashley
Psychologist turned plant-passionate recipe writer, cookbook author, and spiritual truth-seeker. Lover of animals, veggies + space documentaries. My name is Ashley, and I’m the writer and photographer behind Blissful Basil.
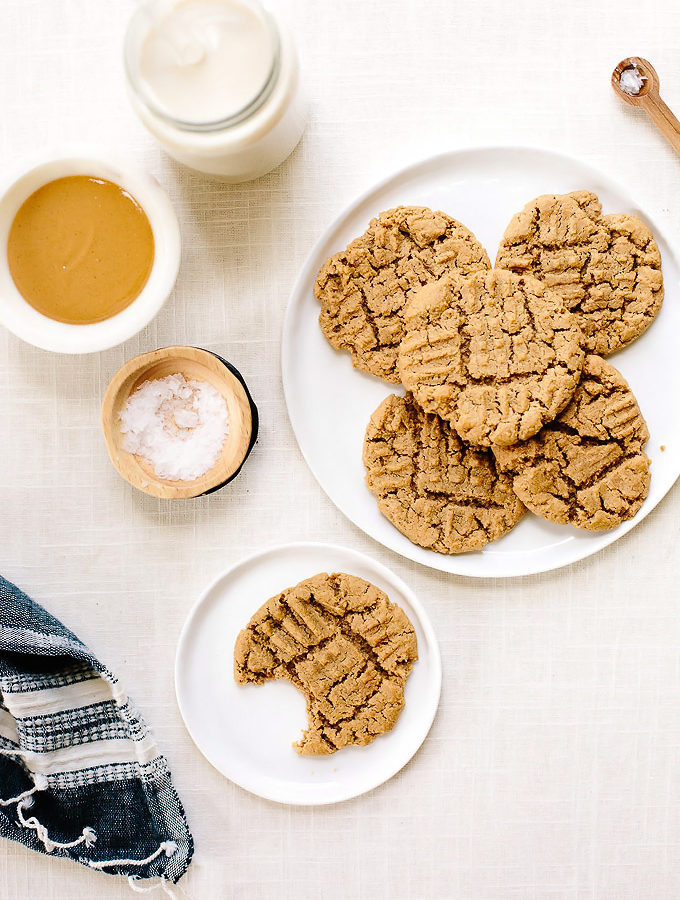
Crowd-Pleasing Vegan Dessert Recipes
If you're looking for vegan desserts bound to please a crowd, look no further. Here's a handful of our most tried and true dessert recipes...
See more vegan dessert recipes →